27/05/2024 - 4/08/2024 (Week5 - Week15) Teu Yu Tian / 0371923 Video
and Sound Production | Bachelors of Design (Honour) in Creative Media |
Taylor's University Final Project - Stop Motion
1. LECTURES:
WEEK 1:
Things to do in week 1:
Watch stop motion short, share 3 of your favourites in your blog under Final
Project section.
2. INSTRUCTIONS:
3 favourite Stop-motion video:
1. Bench -Waaber
The character of the stop motion are made of clay while some props using
wood and paper cut. As I like quirky things, the character design and
story appeals to me. This film also shows unlimited potential of clay in
creating interesting animation as it is easy to shape. Although the main
movement of the main character is just chewing the sandwich on the
bench, the exaggerated bouncing eyes and cheek make it more
interesting.
The most surprise things would definitely be the ending of the story.
Audience will aspected some cute ending such as food sharing, but at the
end the big guy eat the tiny guy, it is mind-blowing.
2. Candy-Short Stop Motion Film
A short stop motion film about an M'n'Ms desperate struggle to fit in and
belong, by Matthew Bunin.
I like how the producer use an ordinary object, which is candy, to deliver
a story with message. The animation of other types of candies are
creative, and he also use the rack focus wisely.
3. Under The Winter Sun
A snowman build his friend and lost him at the end because of the winter
sun. A simple storyline but deliver strong emotion. I feel like I am
went through their happiness and sadness in this 2 minutes. It is really
engaging.
Prefer medium for final project
Clay and paper cut.
Solo or Pair
Solo
Trial Shoot
On week 10, we grouped into 5 people to test shooting to get familiar with the set up shooting process:
Clay
Paper Cut
Final Project Proposal
Work Progress
1. Storyboard & character design
This is an awareness video about stopping littering. The story starts with the main character walking and eating a banana in the park. He randomly throws the peel on the ground. Another person passes by, steps on the peel, and falls down. The main character laughs at him but suddenly finds himself in court, being sued by the person.
After coming up with the synopsis, I designed two characters for the animation. The main character has a naughty and sloppy personality, so I designed him with round, big eyes and a big mouth with horns. The character who falls is a bit serious and on his way to work. He is wearing a tie, holding a bag, and using a phone. The venues are the park and the courtroom. Since I plan to use a white background, the characters will have vibrant and contrasting colours: blue for the main character (Mr. Blue) and red for the other character (Mr. Red).
Figure 1.1 Character design sketches
2. Props gathering and making
The selected materials for the animation are clay and paper cutouts. First, I bought Nikki Clay from Mr. DIY. It is soft but tends to stain with colour. I also tried Nara Clay, which is a bit harder but has less colour staining. So, I decided to mix the two clays when working. I coloured the paper cutout trees with colour pencils. After that, I made the characters according to my sketches.
Figure 2.1 Material used
Figure 2.2 First character making
Figure 2.3 Second character making
Figure 2.4 Final Character
3. Stop motion Shooting
I tested shooting in the studio(Figure 3.1), but I realised it would take several days to finish. It is also troublesome to shoot in the studio because I have to set up everything repeatedly. So, I decided to do the shooting at home. I used my phone with a stop-motion app to film it. (Figure 3.2)
Figure 3.1 Shooting set up in studio
Figure 3.2 Shooting set up in home
For the courtroom, I printed out the court background and stuck it on a mounting board so I could move it easily.
Figure 3.3 Courtroom scene shooting
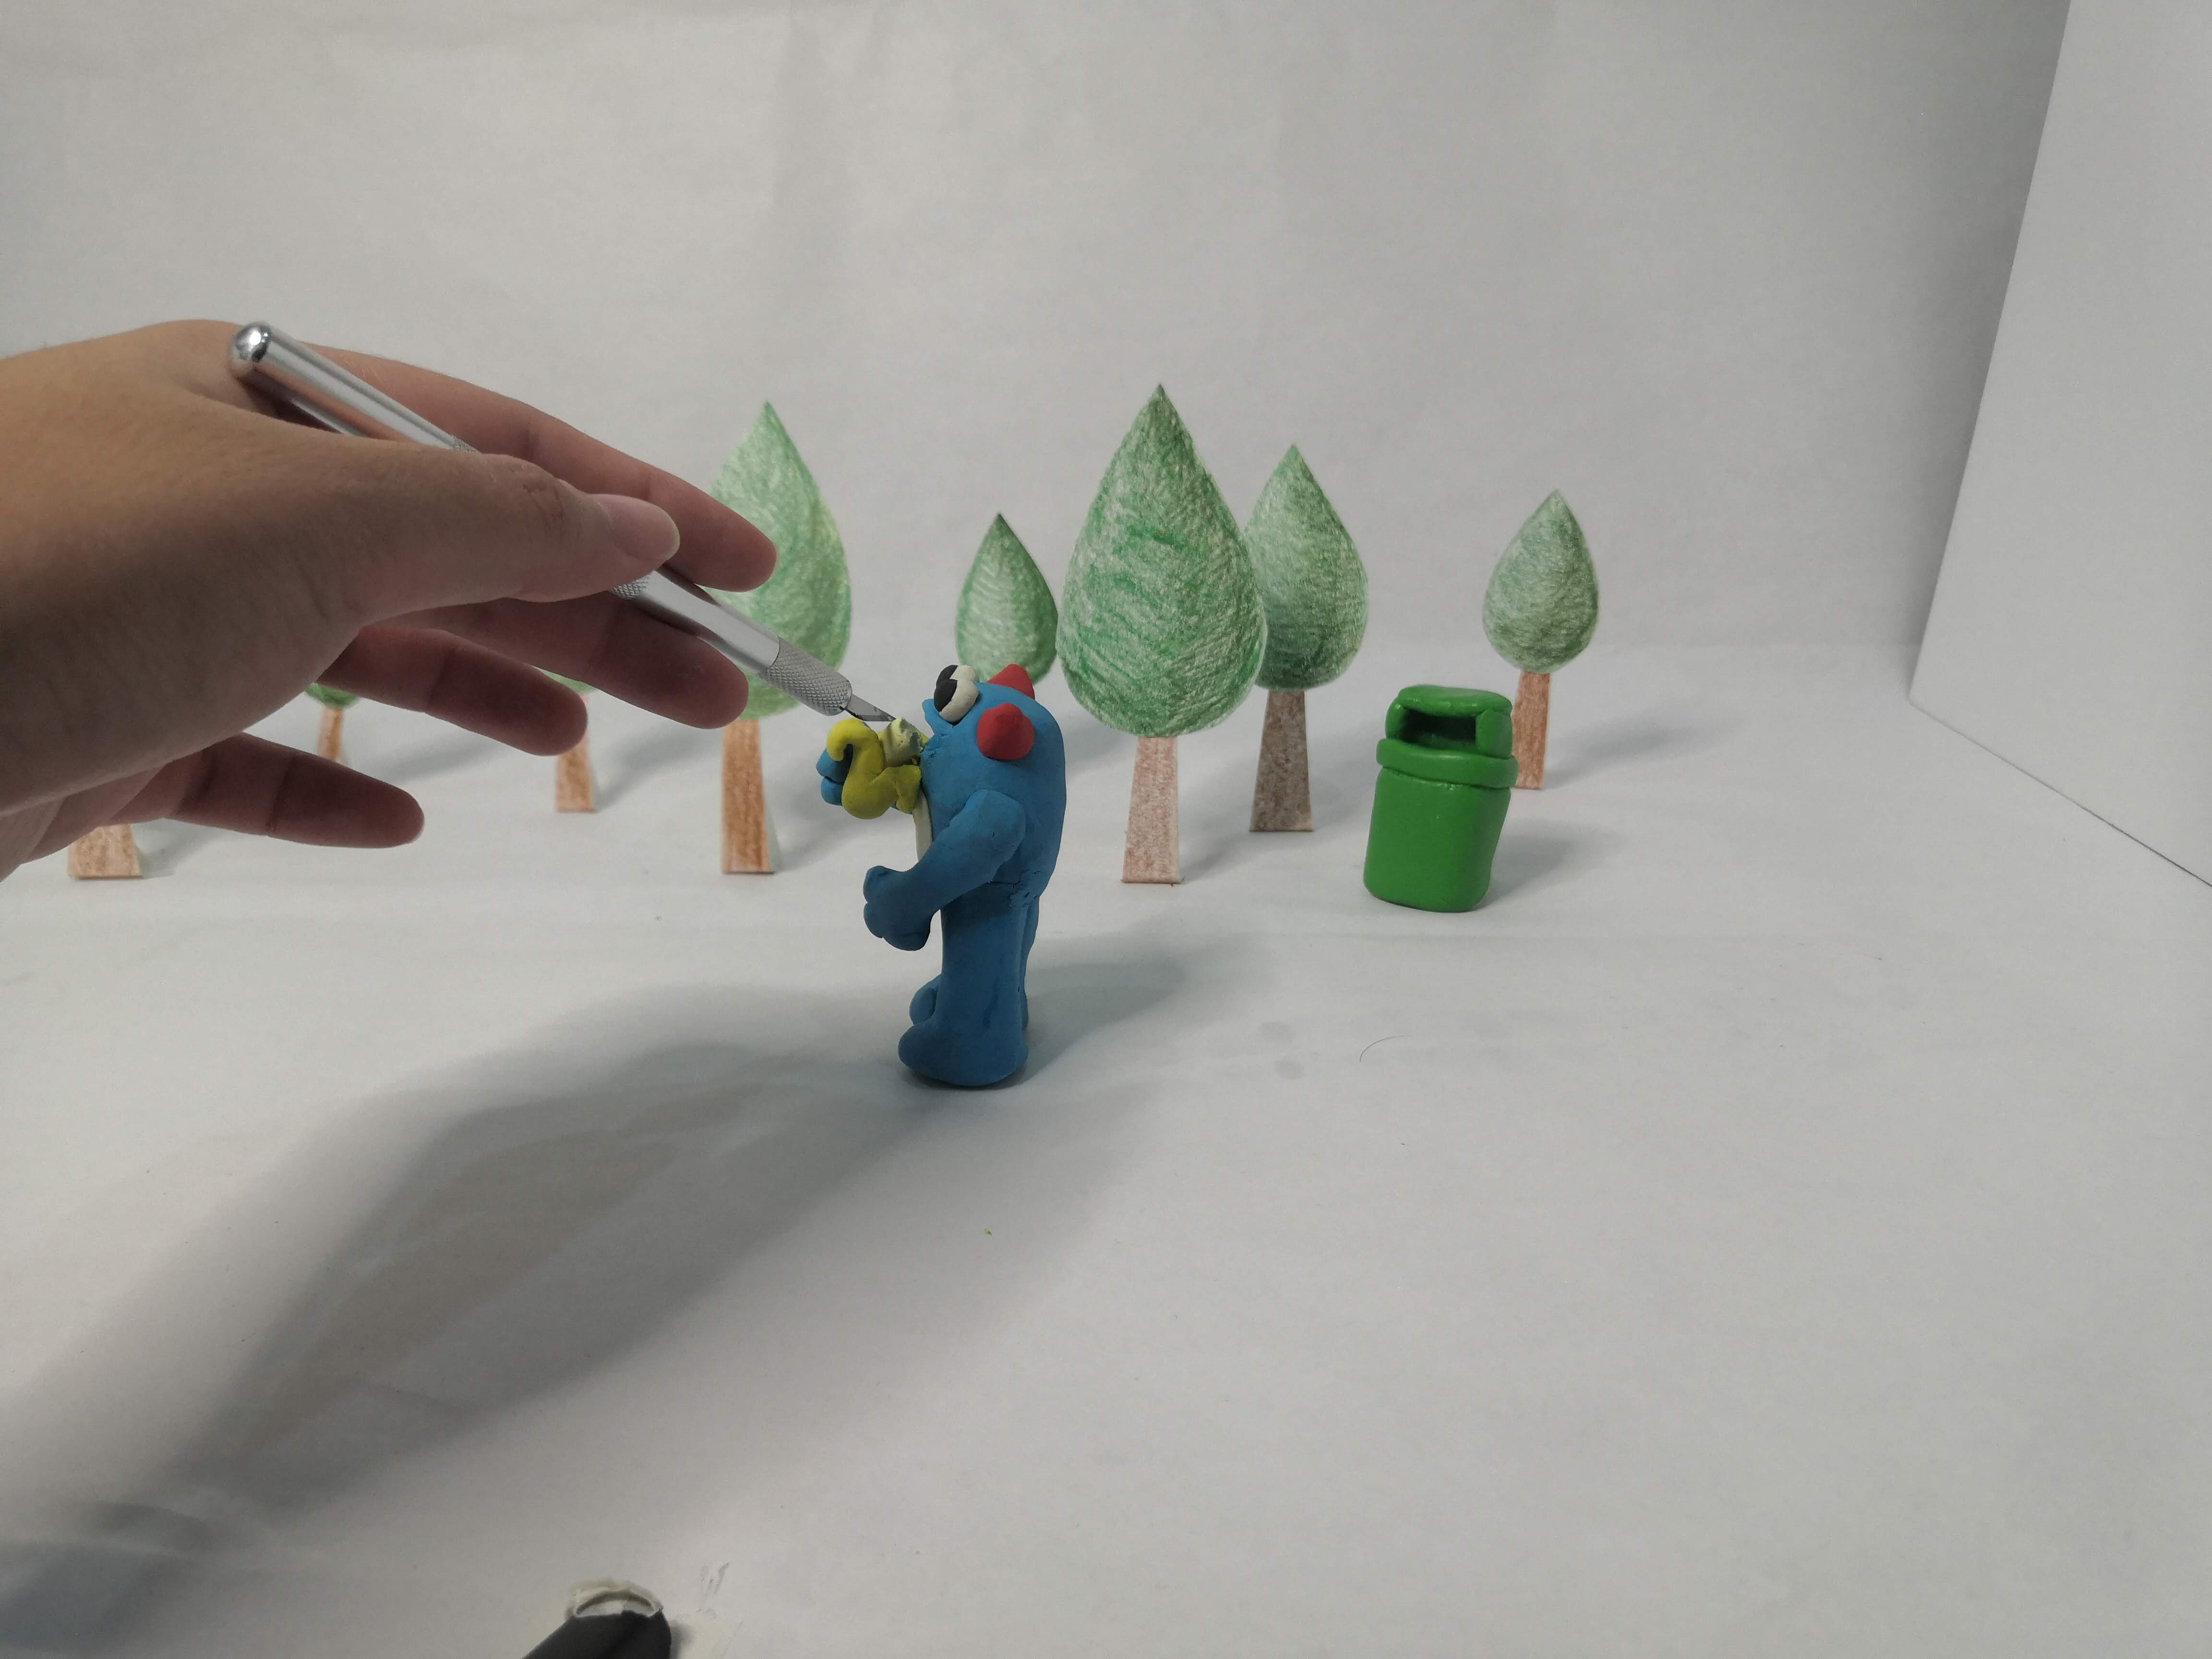
The eating scene is quite challenging, as I have to remove the banana piece by piece and move the mouth while ensuring the scene is smooth. Most of the time, I go back and forth through the photos to check all the movements. The onion skin tool in the stop-motion app is also very helpful for comparing the current scene with the previous one.
Figure 3.4 Eating scene shooting
I faced some trouble when animating the clay character. It always cracked because it was too heavy and became stiffer over time. Initially, the clay was soft, but it hardened if left out for a while. To solve this, I decided to add wire into the clay for support (Figure 3.6).
Later, I discovered that other stop-motion animators actually use aluminium foil inside the clay instead of just clay. This makes the character lighter and easier to adjust for movements. (Just sharing some tips for future readers.)
Figure 3.5 Cracked character
Figure 3.6 Added wire into the clay
4. Photo editing
There are a few scenes that require objects to hang in the air, so some post-editing is needed. I removed all the sticks using Photoshop masking.
Figure 4.1 Photo editing
Figure 4.2 Before editing
Figure 4.3 After editing
5. Video editing
I started with colour balance and brightness adjustments. Some scenes have different brightness levels, which affects the continuity of the film, so it takes time to adjust them properly.
Figure 5.1 brightness adjustment
For the overall colour, I increased the saturation and brightness to make it clean and more vibrant. I also added a vignette to give it a cinematic feel.
Figure 5.2 Before colour adjustment
Figure 5.3 After colour adjustment
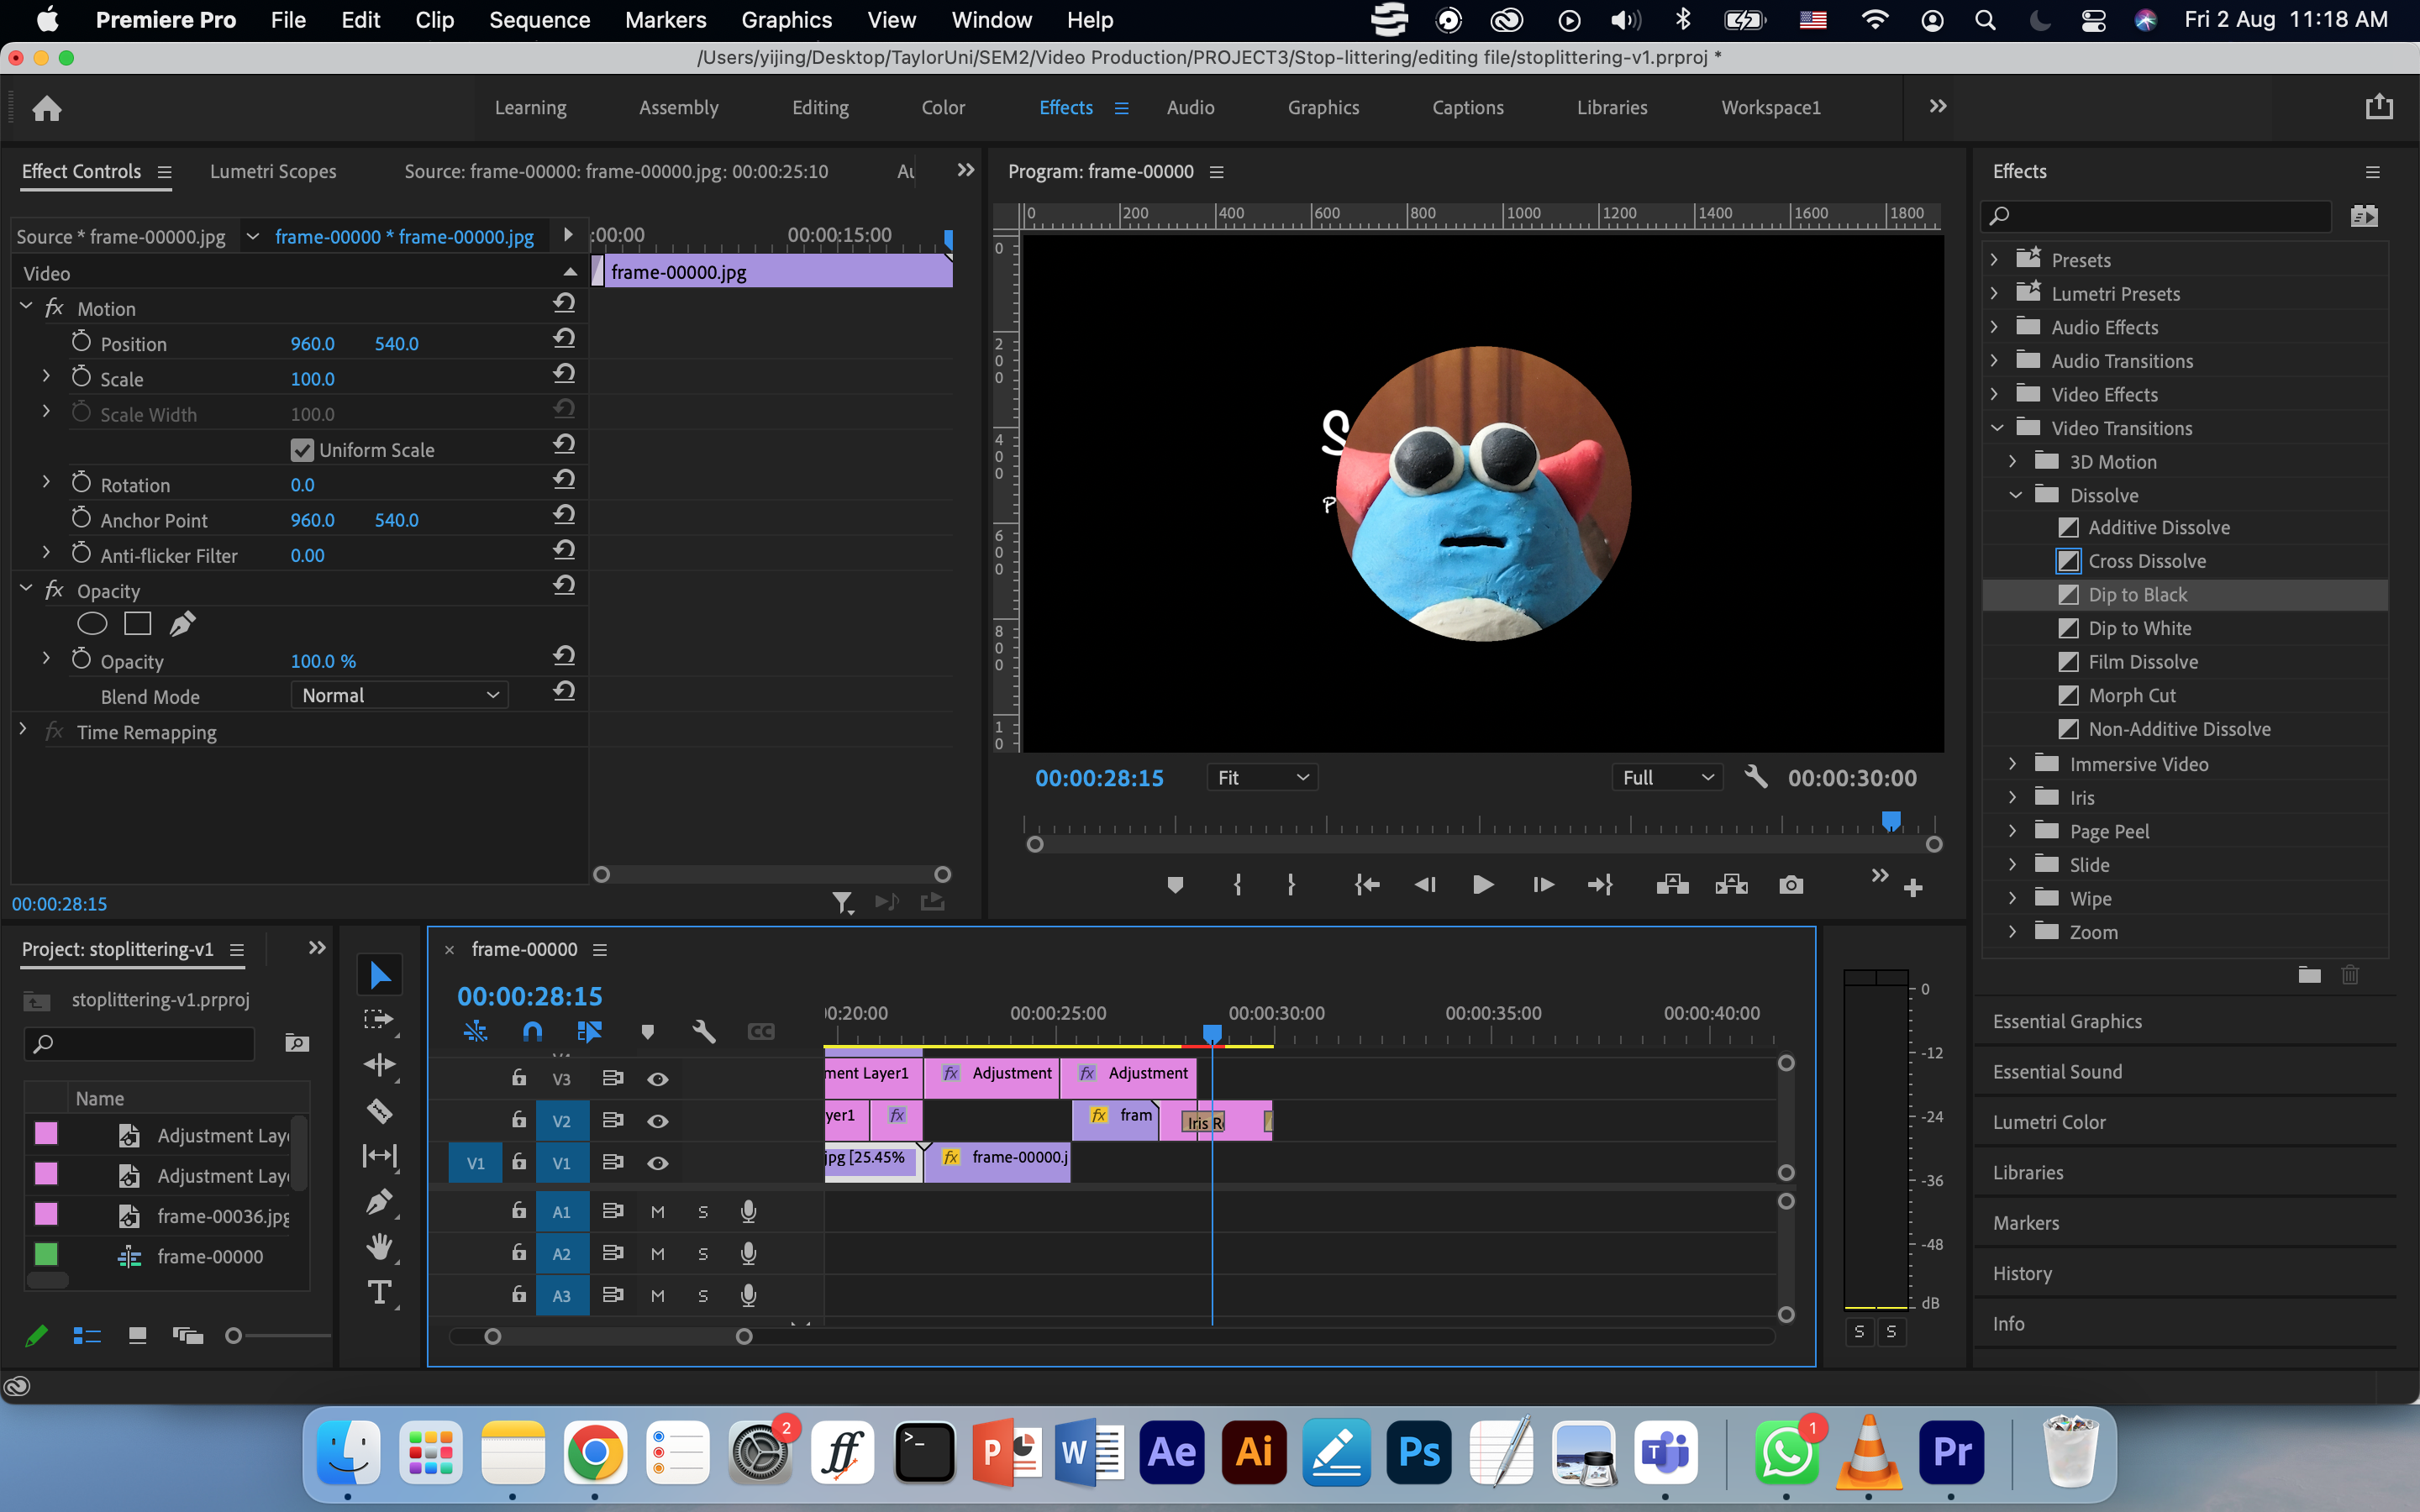
Dip to black and iris round transitions are added for the opening and closing of the video.
Figure 5.4 Video transition effect
6. Voice over and music
After completing sequence and timing editing, I started working on sound and effects. I recorded my own voice for the main character using my phone and Premiere Pro’s recording function, and adjusted the pitch with a pitch shifter. The laughing sounds, fall-down effects, and background music were sourced from various platforms such as YouTube, Freesound, and Pixabay.
Figure 6.1 Pitch shifter
7. Final video
3. Feedback:
Week 10
The story is okay to proceed.
Week 12
The storyboard looks okay, some of the scene might be hard to execute.
Week 14
I showed my first shooting scene in the studio to Mr. Martin. He suggested removing the yellow walkway as it looked odd. He recommended using a white background or creating a real walkway instead.
4. Reflection:
Experience
Clay stop-motion animation is an interesting project. I often see some fun and quirky stop motion video online, I am happy to have a chance to do a whole project by myself. The process included storyboard planning, lighting set up, camera angle, scene planning and so on. I faced some challenge when doing character animation as the model keep cracking and i have to reshape them again and again. All i need is patient and determination.
Observation
I realised the effort stop-motion animators put into producing engaging videos. Reference videos often featured characters with rich facial expressions and interesting body movements, such as stretched legs or overreacted faces. The flexibility of clay allows for creative animation, but it requires extensive preparation of character models, including different shapes for eyes, faces, and bodies. I tried to achieve this in my video too. Every single detail, like blinking eyes or tiny mouth movements, enriched the overall video. Though it takes time and effort, the result is rewarding.
Findings
Stop motion animation filming process is like producing your own movie, and everything are on your own. I learned the importance of material testing and internal support structure of the clay. These might influence the ease of animation. Storyboard also play a crucial role in the process, the filming process went smoothly because of a well planned storyboard. I also learned to set up lighting in the project.


评论
发表评论